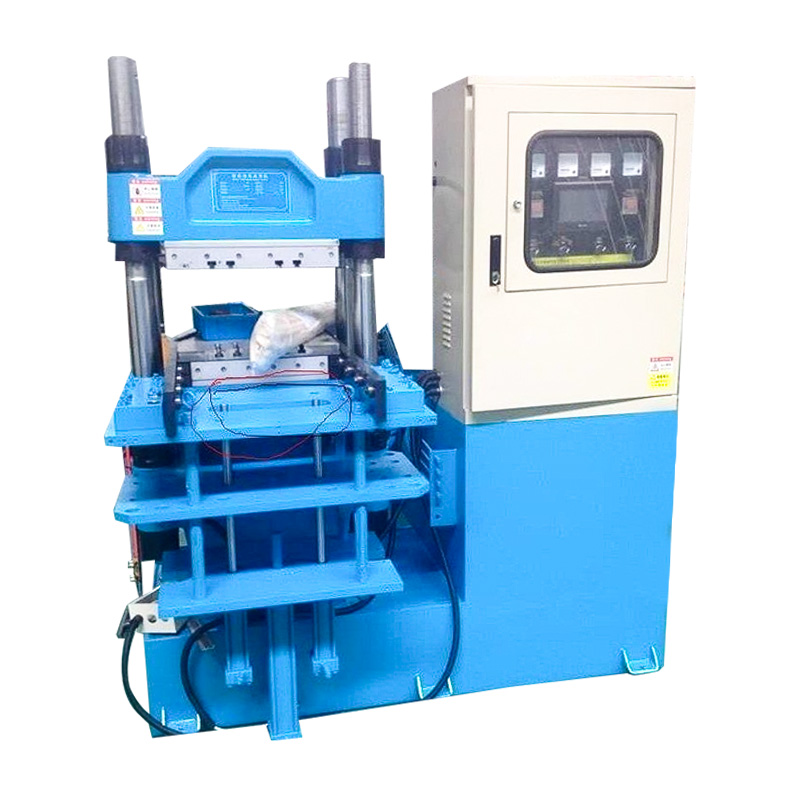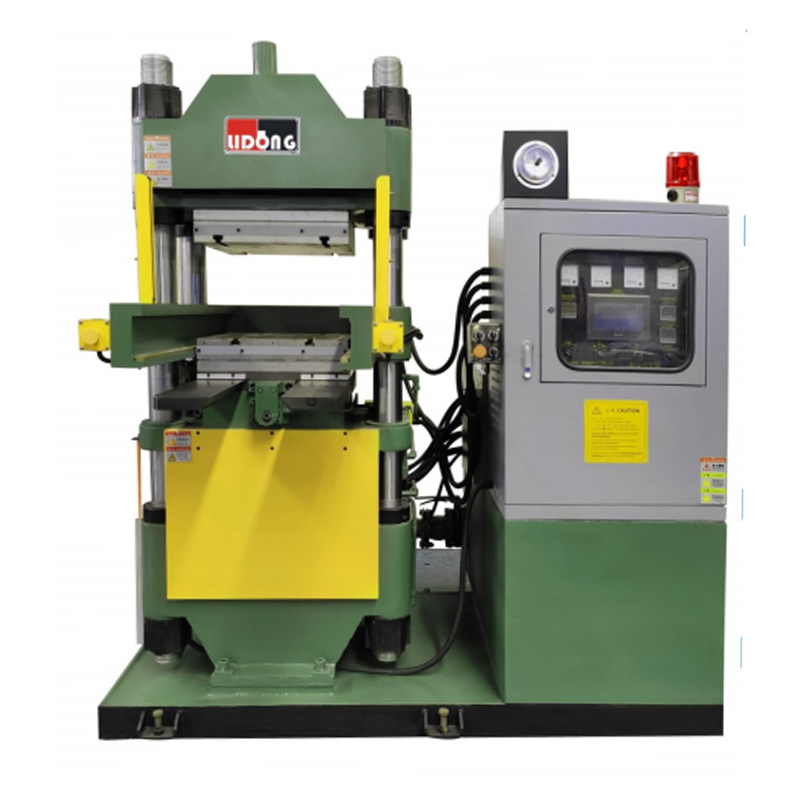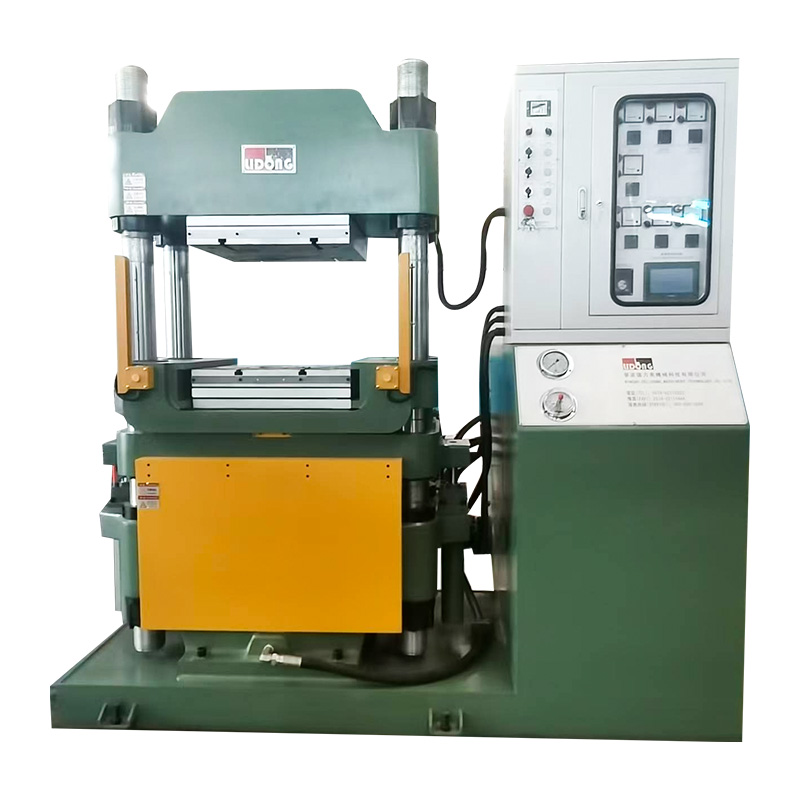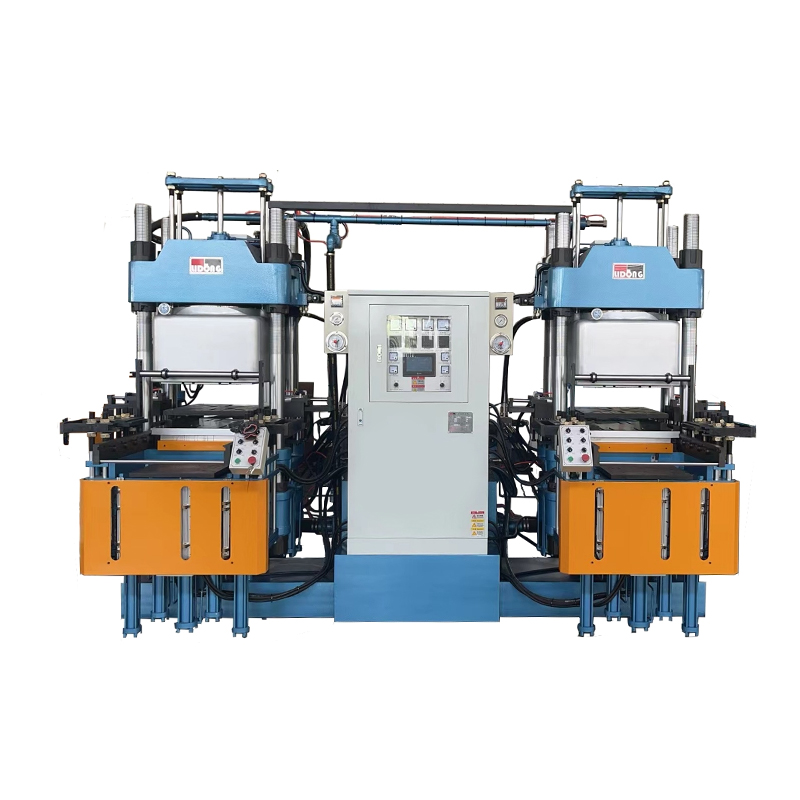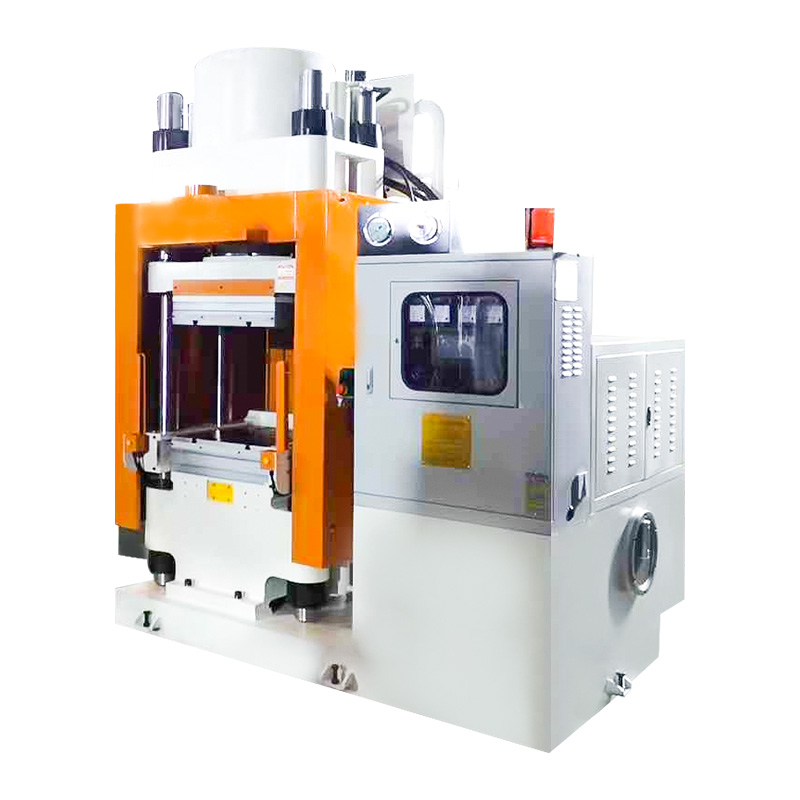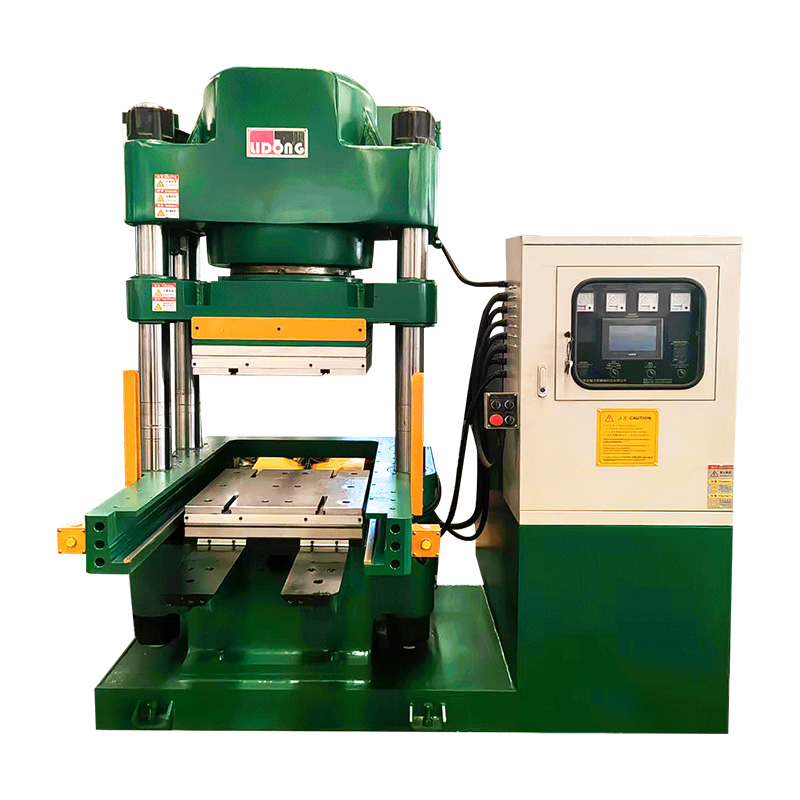

Operating a rubber molding press correctly requires setting three interdependent parameters — temperature, pressure, and cure time — in the right combination for the specific rubber compound and mold geometry being used. Get any one of these wrong and the result is either an under-cured part that fails in service or an over-cured part that is brittle and dimensionally inaccurate. This guide covers the full operating sequence from pre-start checks through to part ejection, the key parameters for the most common rubber compounds, and the safety protocols that must be in place before any press cycle begins.
Understanding the Three Main Types of Rubber Molding Press
Before setting up and operating a press, it is important to know which molding method the machine uses — because setup procedure, parameter ranges, and material loading differ significantly between types.
Compression Molding Press
The most common type in rubber manufacturing. Pre-measured rubber compound (called a "preform") is placed directly into an open mold cavity. The press closes under hydraulic pressure, forcing the rubber to fill the cavity as it heats and cures. Typical operating pressure: 100–200 kg/cm². Cycle times range from 3–15 minutes depending on compound and part thickness. Best suited for medium-to-large parts with simple geometry.
Transfer Molding Press
Rubber compound is loaded into a pot above the mold. A plunger forces the material through a sprue and runner system into closed mold cavities. Produces more consistent parts than compression molding with less flash. Typical operating pressure: 150–250 kg/cm². Used for precision parts, rubber-to-metal bonded components, and multi-cavity molds requiring uniform fill.
Injection Molding Press
Rubber compound is fed from a hopper, plasticized in a heated barrel by a reciprocating screw, then injected at high velocity into a closed mold. The most automated and repeatable of the three methods. Typical injection pressure: 1,000–2,000 bar. Cycle times as low as 60–90 seconds for small parts. Best suited for high-volume production of complex, close-tolerance parts.
| Press Type | Typical Pressure | Cycle Time | Best Application |
|---|---|---|---|
| Compression | 100–200 kg/cm² | 3–15 min | Simple geometry, medium-large parts |
| Transfer | 150–250 kg/cm² | 5–20 min | Precision parts, rubber-to-metal bonding |
| Injection | 1,000–2,000 bar | 1–5 min | High volume, complex close-tolerance parts |
Pre-Start Checks: What to Verify Before Every Production Run
Skipping pre-start checks is the leading cause of press damage, mold damage, and operator injury in rubber molding operations. The following checks must be completed at the start of every shift and after any tooling change.
Hydraulic System
- Check hydraulic oil level in the reservoir — should be at or above the minimum marked line. Low oil level causes cavitation, erratic pressure, and pump damage.
- Inspect all visible hydraulic hoses and fittings for leaks, abrasion, or swelling. A hydraulic hose failure at operating pressure (typically 150–350 bar) releases fluid at high velocity — a serious injury risk.
- Verify the hydraulic oil temperature is within the operating range — typically 30–60°C. Cold oil increases viscosity and slows response; overheated oil degrades rapidly and reduces system efficiency.
Heating System
- Confirm all platen heating zones are functioning. Most presses use electric cartridge heaters or steam-heated platens with independent temperature controllers for the upper and lower platen. A single failed heating zone produces uneven cure temperature across the mold.
- Allow sufficient warm-up time before beginning production — typically 30–60 minutes for a cold press to reach and stabilize at the target platen temperature. Starting production before temperature stabilization causes under-cured first-off parts.
- Verify thermocouple readings against the set point. A thermocouple reading that tracks the set point perfectly but parts are under-curing indicates a faulty sensor — cross-check with a calibrated contact thermometer at the platen surface.
Mold Condition
- Inspect mold cavity surfaces for residual flash, contamination, or damage from the previous run. Even a thin film of residual compound on the parting line will cause flash on the new run and can prevent the mold from fully closing.
- Verify mold release agent has been applied evenly to all cavity surfaces. Insufficient release agent is the primary cause of parts tearing during ejection and damage to mold cavity surfaces.
- Check that all mold alignment pins and bushings are seated correctly. A misaligned mold half can damage the mold, produce out-of-tolerance parts, and in severe cases damage the press platens.
Safety Systems
- Test all safety light curtains, interlocks, and emergency stop buttons before beginning production. In many jurisdictions, operating a press with a disabled safety system is a prosecutable offense under workplace safety regulations.
- Verify the two-hand control (if fitted) requires simultaneous actuation — both buttons must be pressed within 0.5 seconds of each other to initiate a press cycle.
- Confirm the press stroke limiter and pressure relief valve settings match the current mold and compound specifications recorded on the job card.
Key Operating Parameters and How to Set Them
The three primary process parameters — temperature, pressure, and cure time — are interdependent. Increasing cure temperature reduces the required cure time; increasing pressure improves material flow and reduces flash but can cause dimensional changes in soft compounds. Always refer to the compound manufacturer's cure data sheet as the starting reference, then adjust based on actual part quality.
Platen Temperature
Platen temperature must be set to achieve the required mold cavity temperature — these are not the same value. Heat transfer from platen to mold surface involves losses through the mold steel, so the platen set point is typically 5–15°C higher than the target cavity temperature for standard steel molds. For molds with significant mass or poor thermal contact with the platen, this offset may be greater.
Typical cure temperatures by rubber compound type:
| Rubber Compound | Typical Cure Temp (°C) | Typical Cure Time | Key Characteristic |
|---|---|---|---|
| Natural Rubber (NR) | 140–160°C | 5–15 min | Excellent elasticity; scorch-sensitive |
| Nitrile (NBR) | 160–180°C | 5–20 min | Oil & fuel resistant; common in seals |
| EPDM | 160–200°C | 5–20 min | Weather & ozone resistant; roofing, seals |
| Silicone (VMQ) | 160–200°C | 5–15 min | High temp range; food & medical grade |
| Neoprene (CR) | 150–180°C | 8–20 min | Flame resistant; marine & industrial |
| Viton (FKM) | 170–200°C | 10–30 min | Chemical resistant; aerospace & automotive |
Molding Pressure
Molding pressure is set in terms of force per unit area of the mold parting surface — not the hydraulic system pressure. To calculate the required hydraulic pressure from the required cavity pressure:
Hydraulic pressure (bar) = Required cavity pressure (kg/cm²) × Mold parting surface area (cm²) ÷ Ram area (cm²)
For example, a mold with a 200cm² parting surface requiring 150 kg/cm² cavity pressure on a press with a 500cm² ram requires a hydraulic pressure of 60 bar. This calculation is essential — setting hydraulic pressure without accounting for mold area either under-pressurizes the cavity (causing voids and short shots) or over-pressurizes it (damaging the mold or causing flash).
Cure Time
Cure time is determined by the compound's cure kinetics at the operating temperature, the wall thickness of the thickest section of the part, and the heat transfer rate of the mold material. The compound data sheet provides a T90 value — the time required to reach 90% of optimum cure at a given temperature. This is the industry standard reference point for setting minimum cure time.
In production, add a 10–20% safety margin over the T90 value to account for temperature variation across the mold and production-to-production variability. For parts thicker than 10mm, increase cure time by approximately 1 minute per additional 3mm of wall thickness beyond the base specification.
Step-by-Step Operating Procedure: Compression Molding Press
The following procedure applies to a standard hydraulic compression molding press. Adapt the material loading and ejection steps for transfer and injection press types accordingly.
- Complete all pre-start checks as detailed in the previous section. Do not begin production until every item is verified and signed off on the shift checklist.
- Set temperature controllers to the specified platen set point for the compound and mold in use. Allow the press to reach and hold the set point temperature for a minimum of 20 minutes before the first production cycle to ensure thermal stability through the mold mass.
- Prepare preforms to the specified weight (±2% tolerance is standard). Weigh each preform on a calibrated scale. Preforms that are underweight produce short-shots; overweight preforms produce excessive flash and waste compound. For compounds sensitive to contamination, handle preforms with clean nitrile gloves only.
- Apply mold release agent to all cavity surfaces if not already applied during setup. Use a thin, even coat — excess release agent migrates to the part surface and can cause adhesion failures in subsequent bonding or painting operations.
- Load the preform into the mold cavity. Center the preform over the cavity to ensure even material flow in all directions. For multi-cavity molds, load all cavities before closing the press — loading partial cavities and cycling produces unacceptable pressure distribution.
- Close the press using the prescribed control sequence (two-hand control or automated cycle initiation depending on machine configuration). The press should close at a controlled speed — most presses have a fast-approach phase followed by a slow-close phase as the mold faces come within 10–20mm of contact to prevent impact damage to the mold.
- Apply full molding pressure once the mold is fully closed. Verify the pressure gauge reads the target hydraulic pressure calculated for the current mold and compound. Hold at full pressure for the specified cure time as set on the timer.
- Bump the mold (optional, compound-specific): For compounds that generate volatiles during cure — notably certain NR and EPDM formulations — briefly open the press by 2–5mm within the first 30–60 seconds of the cure cycle to allow gas escape, then re-close immediately. This prevents porosity (small voids) in the finished part caused by trapped gas.
- Open the press at the end of the cure time. The press should open at a controlled speed to prevent the sudden pressure release from ejecting parts from open cavities.
- Remove parts from the mold using appropriate ejection tools — brass or nylon trim tools are preferred over steel to avoid scratching cavity surfaces. For parts bonded to metal inserts, do not lever against the rubber as this can tear the bond.
- Inspect the first-off parts against the inspection criteria before continuing production. Check for: complete fill with no short shots, absence of voids or porosity, flash within the specified limit, dimensional compliance on critical features, and surface finish free from flow lines or contamination.
- Clean the mold parting line of any flash before loading the next cycle. Accumulated flash on the parting line prevents the mold from fully closing on subsequent cycles, causing progressively worse flash and potential mold damage.
Common Defects, Causes & Parameter Corrections
Part defects in rubber molding are almost always traceable to a specific parameter error or process deviation. Use this reference to diagnose and correct the most frequently encountered problems.
| Defect | Most Likely Cause | Corrective Action |
|---|---|---|
| Short shot (incomplete fill) | Preform underweight; pressure too low; temperature too low | Increase preform weight by 3–5%; verify pressure calculation; check platen temperature |
| Excessive flash | Preform overweight; pressure too high; parting line contamination | Reduce preform weight; recalculate hydraulic pressure; clean mold parting line |
| Porosity / voids | Trapped volatiles; cure temperature too high; no mold bump | Implement mold bump procedure; reduce platen temperature by 5–10°C |
| Under-cure (soft, sticky) | Cure time too short; temperature too low; thermocouple fault | Increase cure time by 20%; verify platen temperature with contact thermometer |
| Over-cure (brittle, cracked) | Cure time too long; temperature too high | Reduce cure time to T90 + 10%; reduce platen temperature by 5–10°C |
| Part tears on ejection | Insufficient release agent; mold surface damaged; part under-cured | Re-apply release agent; inspect cavity surface; increase cure time |
| Flow lines on surface | Temperature too low; preform poorly positioned; material scorching | Increase temperature by 5°C; re-center preform; check compound scorch time |
Safety Guidelines for Rubber Molding Press Operation
A rubber molding press combines high hydraulic pressure, elevated temperatures, and repetitive manual material loading — a combination that creates significant injury risk if safety procedures are not strictly followed. The most common serious injuries in rubber molding operations are crush injuries from press closure and burns from contact with heated molds or compound.
Personal Protective Equipment (PPE)
- Heat-resistant gloves: Rated to at least 200°C for all mold handling. Standard nitrile or latex gloves provide no thermal protection and must never be used near heated molds.
- Safety footwear: Steel-toed boots with heat-resistant soles. Dropped molds and tools are a consistent hazard in press areas.
- Eye protection: Safety glasses or face shield at minimum during mold loading, ejection, and mold cleaning. Flash trimming and compound handling generate particulates.
- Respiratory protection: Rubber curing releases volatile organic compounds (VOCs) and, in some compounds, potentially hazardous fumes. Ensure adequate local exhaust ventilation (LEV) at the press, or use a half-face respirator with an organic vapour cartridge where LEV is insufficient.
Press Safety Systems
- Never bypass or defeat safety interlocks, light curtains, or two-hand controls. These systems exist specifically to prevent crush injuries from the press closing while hands are in the working zone. Bypassing them removes the only barrier between the operator and a potentially fatal injury.
- Use only approved tools for mold loading and part ejection. No part of the operator's body should enter the press working zone once the cycle has been initiated.
- Engage the mechanical safety prop or lock-out before performing any maintenance or mold adjustment inside the press working zone. Hydraulic pressure alone is not a reliable means of holding the press open — hydraulic seals can fail.
Lockout / Tagout (LOTO)
Any maintenance task that requires entry into the press working zone — including mold changes, cleaning inside the press, and heater or thermocouple replacement — must be performed under a full Lockout / Tagout procedure:
- Isolate all energy sources — electrical supply to heaters and control panel, hydraulic pump motor, and any pneumatic supply.
- Apply a personal padlock to each isolation point. Each worker in the hazard zone must apply their own lock — one lock per person, always.
- Release any stored energy — bleed down hydraulic pressure through the relief valve, allow platens to cool to below 50°C before contact.
- Verify isolation by attempting to start the press — it must not be possible to initiate any movement.
- Remove personal locks only after all personnel have confirmed they are clear of the working zone.
Ergonomics and Repetitive Strain
Rubber molding press operation involves repetitive manual loading and unloading across an entire shift. Mold weights range from a few kilograms for small bench-top tools to over 200kg for large industrial molds. Establish clear manual handling guidelines:
- Any mold or component exceeding 25kg must be handled with mechanical assistance — hoist, manipulator, or two-person lift.
- Press working height should position the mold parting line at approximately hip height to minimize forward bending during loading and part removal.
- Rotate operators between press stations and other tasks where possible — continuous repetitive press loading over a full shift is a significant musculoskeletal injury risk.
Press Maintenance Schedule to Protect Production Uptime
A well-maintained rubber molding press runs for 15–25 years with consistent output. Deferred maintenance is the primary cause of unplanned downtime and part quality failures. The following schedule covers the minimum recommended maintenance intervals.
| Interval | Task | Why It Matters |
|---|---|---|
| Daily | Check hydraulic oil level; inspect hoses; verify safety systems | Prevents pump damage, hydraulic failures, safety incidents |
| Weekly | Clean platen surfaces; lubricate guide columns; verify thermocouple calibration | Maintains even heat distribution; prevents column wear; catches sensor drift |
| Monthly | Test hydraulic pressure relief valve; check all electrical connections; inspect heater elements | Prevents overpressure events; reduces fire risk from loose connections |
| Annually | Full hydraulic oil change; replace hydraulic seals and filters; calibrate all gauges | Prevents oil degradation affecting pressure control; maintains measurement accuracy |
Quick Reference: Parameter Setting Checklist
Use this checklist at every tooling change or compound change to verify all parameters are correctly set before beginning production:
- Platen temperature set point confirmed against compound data sheet and mold thermal offset recorded
- Temperature stabilization soak time (minimum 20 minutes at set point) completed before first cycle
- Hydraulic pressure calculated from cavity pressure requirement and mold/ram area ratio
- Cure time set to T90 value plus 10–20% safety margin from compound data sheet
- Preform weight verified on calibrated scale to ±2% of specification
- Mold bump procedure specified (yes / no) per compound volatile characteristic
- Mold release agent applied and confirmed on all cavity surfaces
- All safety systems tested and functioning; safety checklist signed
- First-off inspection completed and approved before continuous production run begins